
Glyphosate Mixing and Application Guide
📋 Pre-Application Checklist
1. Product Label Review – Your First Step
Before you start mixing, check these key details on your product label:
What You Need to Find:
– Active ingredient concentration (common ones are 41%, 53.8%, or other percentages)
– Dilution ratios for how you plan to apply it
– Target weed types and how much to use
– Equipment fit guidelines
– Safety steps and PPE requirements
🔍 Understanding Glyphosate Concentrations
Common Formulations:
| Concentration | Typical Use | Dilution Impact |
|---|---|---|
| 41% | Consumer/homeowner products | Needs less product per gallon |
| 53.8% | Professional/agricultural grade | More concentrated, measure with care |
| Other % | Specialty formulations | Follow specific label instructions |
⚠️ Important Note: Different concentrations need different mixing ratios to work the same way. Don’t assume ratios work the same across all products.
📊 Typical Mixing Guidelines (Examples)
For 41% Glyphosate:
- General weed control: 2-3 oz per gallon of water
- Tough weeds that come back: 4-6 oz per gallon of water
- Broadcast spraying: Check your label for acres-per-tank specs
For 53.8% Glyphosate:
- General weed control: 1.5-2.5 oz per gallon of water
- Tough weeds that come back: 3-4 oz per gallon of water
These are general examples. Your product label overrides these suggestions.
🎯 Factors affecting the application effect
I suggest you think about these factors when you determine your mixing ratio:
Weed-Related Factors:
– Species type (annual or comes back yearly)
– Growth stage (young or mature)
– Weed density and coverage
– Past resistance to herbicides
Environmental Conditions:
– Temperature (best: 60-85°F)
– Wind speed (avoid spraying above 10 mph)
– Humidity levels
– Time since last rainfall
Equipment Specs:
– Sprayer type (backpack, pump, tractor-mounted)
– Nozzle size and spray pattern
– Pressure settings
– Tank capacity
✅ Best Practices for Safe Mixing
Based on my experience, here’s what I recommend:
- Add product to water first. Never add water to product.
- Measure with care. Use calibrated measuring tools.
- Mix in a space with good airflow. Wear your PPE.
- Shake well before and during use.
- Use clean water. Hard water may need adjuvants.
- Apply the same day. Don’t store mixed solutions for long.
🛡️ Safety Reminder
- Read and follow all label instructions
- Wear protective gear (gloves, eye protection, long sleeves)
- Keep children and pets away from mixing and application areas
- Follow re-entry times on your label
Need help with mixing calculations for your situation? Share your:
– Product concentration
– Target weeds
– Application area size
– Equipment type
I can help you calculate exact mixing ratios and application volumes!
How to Mix Glyphosate: A Clear Guide for Better Weed Control
Getting your glyphosate mix right matters. It’s not just about pouring product into water. You need to understand concentration, how you’ll spray it, and what weeds you’re fighting. I’ll show you how to mix it so you can kill dandelions and tough perennial weeds with good results.
Know Your Concentration Options
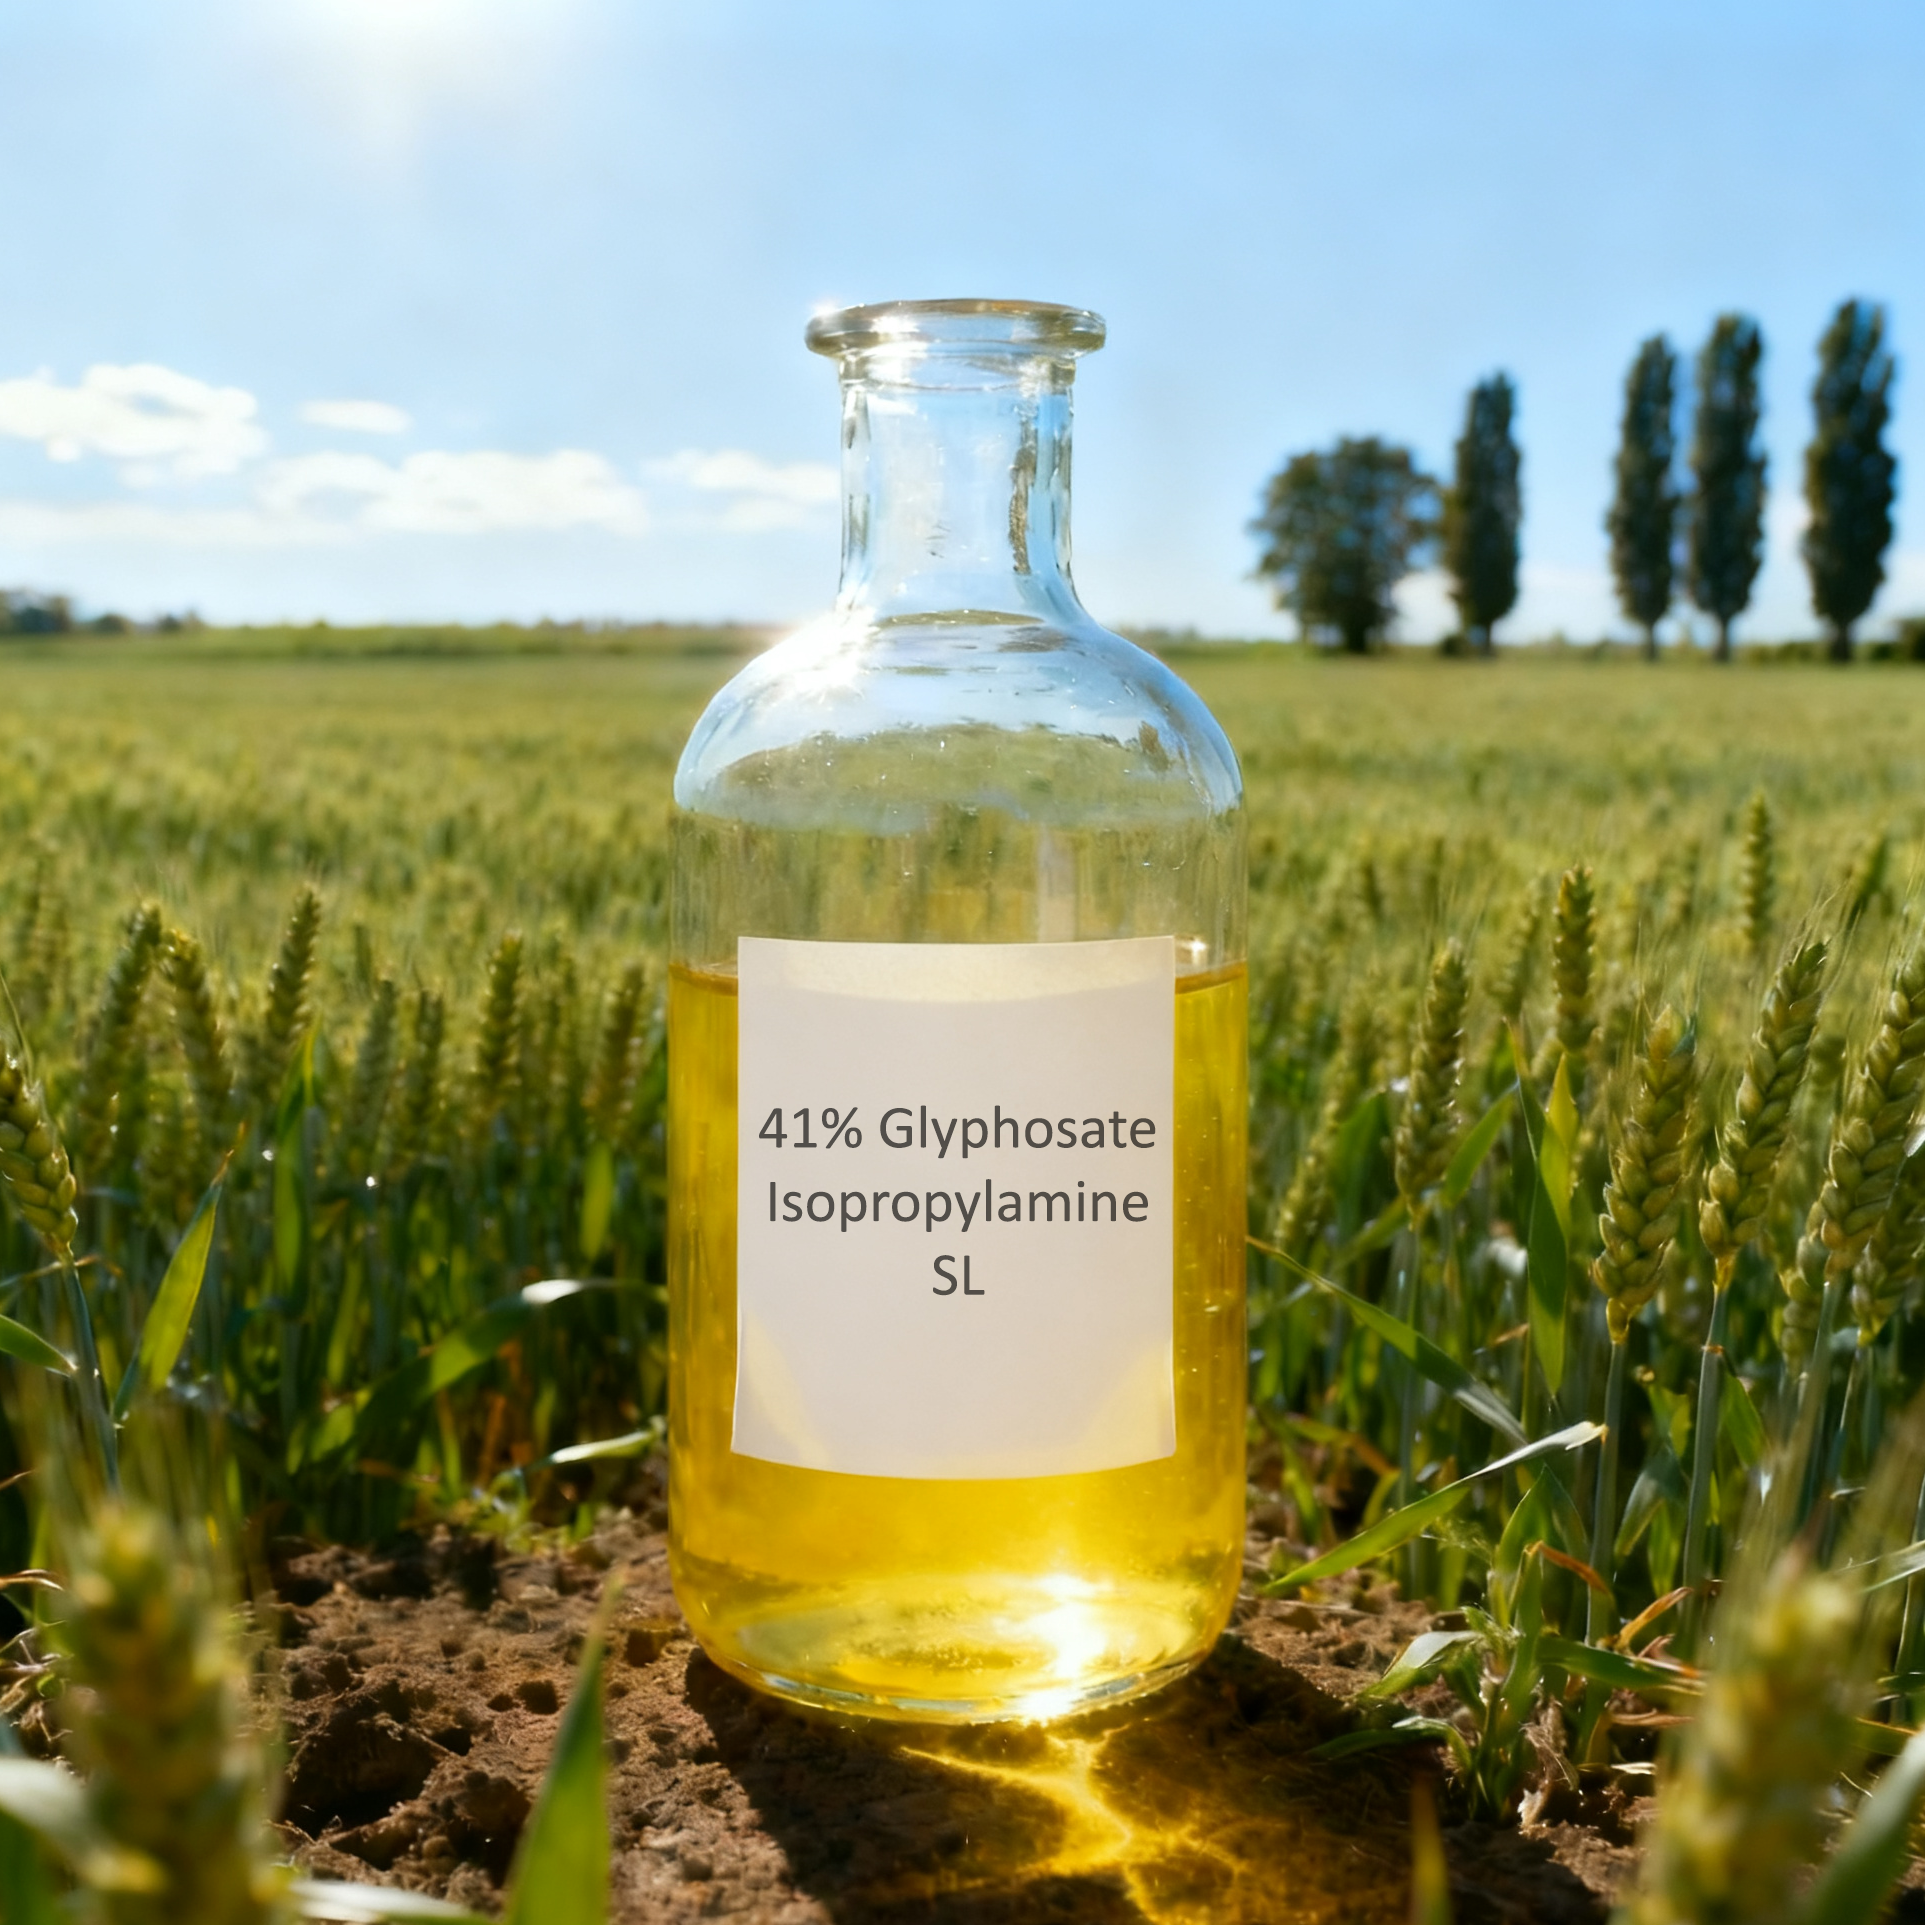
41% glyphosate concentrate is professional-grade. It needs care. Proper dilution makes the difference between some control and total kill.
Small Area Applications (Spot Treatment)
For backpack sprayers and garden areas, here’s what I recommend:
- Standard weeds: Mix 2–4 ounces of 41% glyphosate per gallon of water
- Stubborn or mature weeds: Use 4–5 ounces per gallon
- Hand-held sprayers: Use a 0.75–1.5% solution (1 ounce per gallon equals 0.75%)
Here’s what amazes me: that small bottle becomes very potent. Just 2 ounces mixed right can treat a large area.
Large-Scale Field Applications
For acres, not square feet, focus on efficiency:
- General weed control: Use 1.5–2 quarts per acre
- Tough perennial weeds (thistle, bindweed, quackgrass): Use up to 3 quarts per acre
- Calibrate your sprayer for even coverage
The Right Mixing Order (Why It Matters)
Many people mess this up. Glyphosate isn’t like instant coffee. You can’t just dump it in and stir. Follow this sequence to avoid foam, separation, and waste:
Step-by-Step Mixing
1. Pre-fill your tank
Add 80% of your total water first. This prevents foam and helps the mix stay blended.
2. Add glyphosate concentrate
Pour in your measured glyphosate while stirring. This is your active ingredient.
3. Add surfactant (if using)
Add 2+ quarts per 100 gallons of spray mix. Surfactant breaks down the waxy coating on leaves. Glyphosate can then get inside the plant. For small batches, use about 0.25 ounces of surfactant per gallon.
4. Top off with water
Add the final 20% of water to reach your target volume. This step stabilizes the mix.
5. Mix well
Stir or shake hard for at least 30 seconds. Glyphosate must spread evenly through the water. Uneven mixing means uneven results.

Real Mixing Examples
Example 1: Backpack Sprayer (2-gallon capacity)
For lawn weeds:
– 1.6 gallons water (80%)
– 4–8 ounces glyphosate (2–4 oz per gallon)
– Surfactant as recommended
– 0.4 gallons water (20%)
– Total: 2 gallons ready to spray
Example 2: Boom Sprayer (100-gallon tank, treating 50 acres)
For farm weed control:
– 80 gallons water
– 75–100 quarts glyphosate (1.5–2 quarts per acre × 50 acres)
– 2–3 quarts surfactant
– 20 gallons water
– Total: 100 gallons covering 50 acres
Fix Common Mixing Problems
Too much foam? You added glyphosate before enough water, or you’re stirring too hard. Foam reduces spray power and clogs nozzles.
Weeds not dying? Check your mix strength. You may need to go from 2 oz/gallon up to 4–5 oz/gallon, especially for established perennials.
Mix separating in the tank? You didn’t mix enough, or your surfactant is old. Always remix before spraying if the solution has sat for more than a few hours.
My Tips for Best Results
-
Water quality matters: Hard water can weaken glyphosate. I suggest adding ammonium sulfate (AMS) at 8.5–17 lbs per 100 gallons if you have high mineral content.
-
Temperature counts: Spray when temperatures are 60–85°F. Glyphosate works slower in cool weather. It may evaporate in extreme heat.
-
Timing is key: Spray when weeds are growing fast. Stressed or dormant plants won’t absorb the chemical well.
-
Be careful with tank-mixes: Some fertilizers and pesticides can weaken glyphosate. If you’re not sure, spray them at different times.
Safety and Storage Rules
- Mix what you’ll use within 24 hours
- Never store mixed glyphosate—it loses strength over time
- Wear PPE: gloves, eye protection, long sleeves. No physical disturbance for at least 72 hours after you spray
- Rinse your mixing container and sprayer three times after use
The difference between amateur and pro weed control isn’t just equipment. It’s knowing these mixing basics. Get your mix right, follow the proper steps, and those tough weeds won’t survive.
What weed are you fighting, and how large is your area? I can help you figure out the exact mix you need.
3-Day Minimum Interval Rule
Why You Need to Wait
- Glyphosate needs 24-72 hours to move through the plant to the roots
- If you disturb weeds too soon, you interrupt herbicide movement
- This cuts effectiveness to 30-50%
- The chemical needs time to absorb through leaves into plant tissue
Active Monitoring System
Visual Assessment Schedule
| Timeline | Observation Focus | Action Required |
|---|---|---|
| Day 3-5 | Initial yellowing of leaf tissue | Document progress with photos |
| Day 7-10 | Progressive browning and wilting | Identify any green, untreated patches |
| Day 14-21 | Complete desiccation | Mark areas requiring secondary spraying |
Check Your Coverage Quality
Look for application failures:
– Skip patterns – Missed strips or patches. This means nozzle problems.
– Drift zones – Areas with less coverage due to wind interference
– Shielded areas – Weeds protected by structures or dense canopy
– Resistant individuals – Plants showing minimal response after 14 days
Secondary spraying Strategy & Planning
When to Spray Again
You need follow-up treatment if:
1. More than 15% green tissue remains after 21 days
2. Regrowth from roots that weren’t killed
3. New weeds emerge from seed bank (different from initial failure)
4. Dense vegetation blocked initial spray
How to Adjust Your Spray
For stubborn or missed areas:
– Increase concentration by 25-50% for resistant species
– Add surfactant at 0.25-0.5% v/v if you didn’t use it the first time
– Use less volume (15-20 gallons/acre) for better coverage on smaller areas
– Try a different method (directed spray vs. broadcast)
Timing Between Sprays
- Wait at least 14 days between treatments on same area
- Best window: 21-28 days. This lets you see the complete response.
- For best results: Spray before remaining weeds grow past 6 inches
Documentation & Record Keeping
Essential Data to Track
I recommend creating treatment logs with:
– Application date, time, and weather conditions
– Product concentration and total volume used
– Equipment type and calibration settings
– Target weed species and growth stage
– Photo documentation (before, 7-day, 21-day)
– Effectiveness rating (% control achieved)
Why detailed records matter:
– You can spot problem areas that need pattern changes
– You track resistant weeds that appear over seasons
– You use less product and reduce waste
– You have legal proof of responsible application
Long-Term Area Management
Post-Treatment Maintenance Options
After you kill the weeds (21-30 days):
Option 1: Reseeding/Replanting
– Remove dead plant material if necessary
– Use pre-emergent herbicide to stop weed seeds from sprouting
– Seed desirable vegetation or install landscaping
Option 2: Bare Ground Maintenance
– Use residual herbicide for longer control (3-6 months)
– Install physical barriers (landscape fabric, mulch)
– Plan periodic monitoring every 4-6 weeks
Option 3: Tilling/Cultivation
– Till dead vegetation into soil (wait 21+ days first)
– Add organic matter to improve soil
– Watch for weed regrowth from disturbed seed bank
Safety & Environmental Compliance
Post-Application Site Security
- Keep signs up for 24-48 hours showing recent herbicide use
- Keep people and animals out during drying period (2-6 hours)
- Protect water sources – no irrigation or rainfall runoff into sensitive areas for 24 hours
Disposal of Dead Vegetation
- Do NOT compost glyphosate-treated plants for at least 3 months
- Do NOT feed treated weeds to livestock or burn as fodder
- Proper disposal: Municipal green waste or deep burial if local rules allow
Troubleshooting Common Issues
| Problem | Cause | Solution |
|---|---|---|
| Weeds still green after 14 days | Under-application or resistant species | Retreat with increased rate + surfactant |
| Partial yellowing | Poor coverage or rainy weather | Spot-treat missed areas, check calibration |
| Crop damage nearby | Drift or tank contamination | Rinse equipment well; adjust nozzles |
| Regrowth from roots | Not enough time for herbicide to work | Wait longer; use higher concentration |
Key Points to Remember
✅ Be patient – Let the herbicide work through the whole plant before you disturb it
✅ Watch closely – Active monitoring helps you catch problems fast
✅ Keep records – Good notes improve your future sprays
✅ Stay flexible – Change your retreat plan based on what failed
Based on my experience, this management protocol gives you the best herbicide results. It also protects the environment and sets you up for long-term weed control success.

I can help you with more details on:
– Secondary spraying plans for specific weed types
– How to combine this with other weed control methods (mechanical, cultural, biological)
– What to monitor in sensitive environmental areas

0 Comments